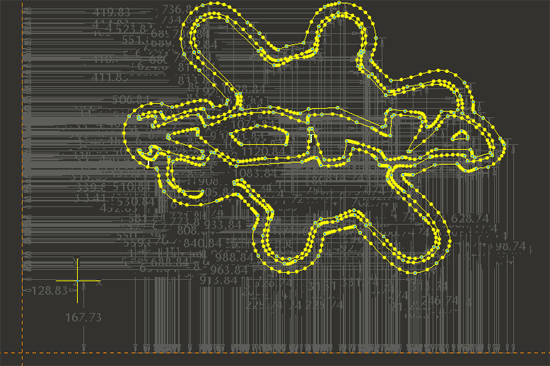
![]() Design & Tech CAD
Design & Tech CAD
Reference geometry
Variable Section Sweep
Layers & visibility
Adv. Rounds
Mathematical control
Advanced Patterns
Draft & Split plane Trim
Geometry from 2D graphics
Model analysis
Accuracy
Skeleton based surfacing:
Model Analysis
Section Curvature
Splines
Boundary Blend
Construction and manipulation
Trim, Merge & Solidify
3sided surfaces
Offset Surfaces
Creating Geometry from a 2D Graphics Source
At some point you may need to replicate some existing graphics such as a corporate logo, here are a number of methods.
Vector based software
In the graphics industry logos are generally created in vector based packages such as Adobe Illustrator or Corel Draw. The linework is maths based and, unlike a bitmap, is scalable without losing any definition. [Definition: en.wikipedia.org/wiki/Vector_graphics ]
Neutral, industry standard vector files such as .dxf or .dwg can be exported from these packages and opened directly into ProEngineer. This geometry can then be the basis of a reference curve.
Illustrator
Bitmap preparation - your starting point is likely to be a .jpg or .gif bitmap file. You may need to do some work on your image in Photoshop to give a better contrast to the required edges - look at simple Image > Adjustments > Brightness/Contrast or have a play with Image > Adjustments > Levels.
In Illustrator you can File > Place a pixel based image into an empty document
Select the image > Object > Live Trace > Make to find boundaries of high contrast. Expand in the top options to create paths/vectors - at all stages you will have to experiment with the various options.
** Save as CS version, not a CS2 and untick all Options **
Lots of tutorials for Live Trace out there - eg. LINK
Whilst in Sketcher:
Whilst in Sketcher in ProE you can use the Sketch > Data from File command to import the .ai file.
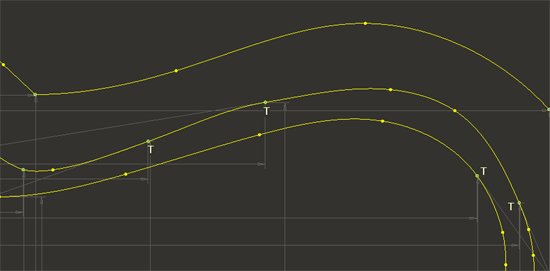
Caution: The more accurately the paths follows the selection the more control points are created in the resulting spline curve.
Firstly this can mean it takes a long time to process the data in sketcher. And secondly a spline curve should always contain the minimum number of control points. So try and minimise the number of control points by having the tolerance figure as high as possible.
To reduce the number of points in the spline curve; whilst in sketcher, select the spline and pick the modify icon. Control points can then be deleted. Check out thee curve analysis tool at this point as well to get your spline nice and smooth.
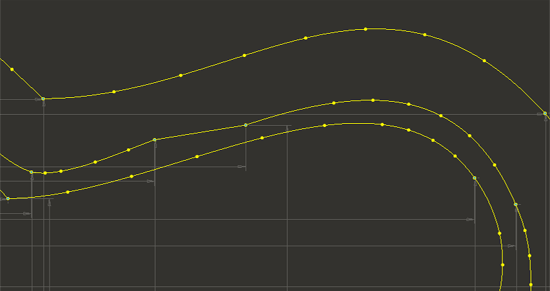
Establish tangency, reduce the number of points and smooth the curve.
Bitmaps directly into ProEngineer
When you change the colour of an entity in ProE you create a render swatch which is applied to the part or surface. There is the option when creating the swatch to apply a bitmap image.
If you create a closely cropped bitmap image of the graphic this can be used in the colour swatch which can then be applied to a surface in your part file. The easiest method to get the image to the correct size is to create a Fill surface [Edit > Fill] from a rectangular sketch of the correct size. A reference curve can then be created by tracing the image.
For a simpler method look at Level 3 > Reverse Engineering > ISDX Trace Sketch