![]() Design & Tech CAD
Design & Tech CAD
Introduction to 3D CAD modelling
Design Intent
Sketching
Intro to Creo through
the Extrude feature
Editing
the Model
Managing the Model
Robust Modelling
Revolve
Blend
Sweep
Swept Blend
Engineering Features
Edit Features
Reference Geometry
Helical Sweep
Managing the model: modifying features and resolving failures
You need to be aware that CAD software is not like most of the software you are used to working on. Don't expect too many similarities to Word, PhotoShop etc. - this is an industrial piece of software with a lot of depth and complexity.
Parent/Child Relationships
Just as you cannot exist if your parents did not exist then one feature which is referenced to another feature cannot be resolved if the reference feature ceases to exist or is fundamentally altered.
Features have parents and children and you should always consider those relationships when making modifying your model
Create then Modify
Features are very easily redefined. If something didn’t turn out as you wanted or fails then you do not have to delete it and start again you simply go back into the feature creation process and tweak the parameters.
Failed features
If the feature you have created cannot be built or your actions have effected another feature, i.e. you’ve fundamentally changed or removed references, then a warning message will give you the option to undo the changes or continue.
If you continue, the effected feature
and any effected child features
in the
Model Tree
will turn red and be suppressed.
They are not deleted but they are taken out
of the build, RMB
>
Edit Definition
to sort out the failure.
File Management: The Working Directory
As Creo works with your model it needs certain configuration and administration files. If it cannot find these you may have problems with your file later on. In the labs, these files reside in the Working Directory:
When you create a new file its name and location are set at that point (unlike common Windows software). The Default folder for files to be saved is again the Working Directory.
Unfortunately, this is a different location in different labs. Make sure you look at the address in the Save window:
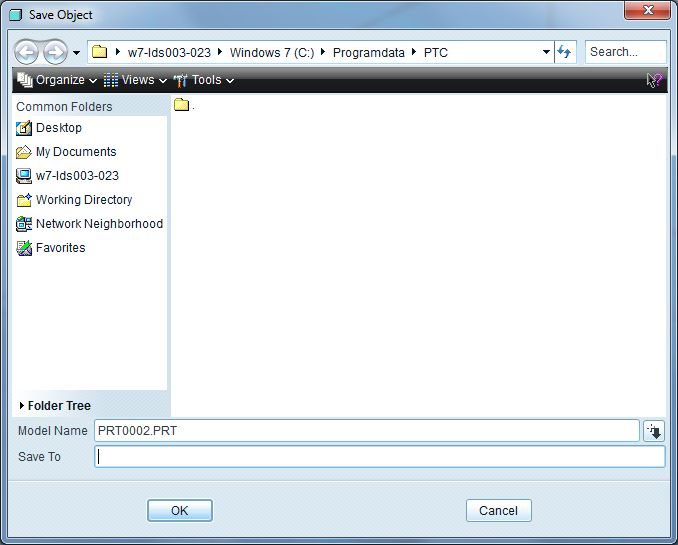
LDS003: C:\ProgramData\PTC
The address for LDS003 cannot be navigated to through Windows Explorer, copy it into the Start>Search box to go to that address.
The most efficient working method also dictates that this is also the place from where you should work on your model files.
- Copy your files [from where they are stored] to this location at the beginning of a session.
- Work on your files.
- Move them back [to there original address] when you have finished
Which ever piece of software you are working on your should never work from your U: space or any other storage device – connections can be lost and working speed is always slower.
Getting into good habits early on can save you a lot of heart ache in the future when the above working regime is even more important.
See Creo Administration for setting up your own installation of Creo
Version files
Each time you save your model, Creo will save a complete new file. If I saved the file bracket.prt three times I would find bracket.prt.1, bracket.prt.2 and bracket.prt.3 in the working directory.
This allows you to track changes and revert to previous build states of a model. The highest number file is the most recent and is the only one you need to keep.
To delete version files
of the active model either use the DV icon in the top toolbar, or
File > Delete > Old Versions - take care not to
pick All Versions.
Or simply use My Computer to find and delete the unwanted files.
Associativity
First you create your core part files. From these you create assembly files, drawing files and manufacturing files (which also creates a further .asm file). These subsequent three files, .asm, .drw and .mfg do not contain the original part files which are used within them. Each time they are opened or regenerated they will be rebuilt or redrawn according the latest version of the part file.
For this reason it is essential that you keep all associated files together in one folder and do not rename them once they have been associated to another file type.